
If you're experiencing problems with your car's electrical system, the alternator regulator could be to blame. The alternator regulator is responsible for regulating the voltage output of the alternator. If it's not working correctly, it can cause your car's battery to drain or your lights to dim. In this article, we'll show you how to test your alternator regulator to determine if it's functioning correctly.
Tools Needed
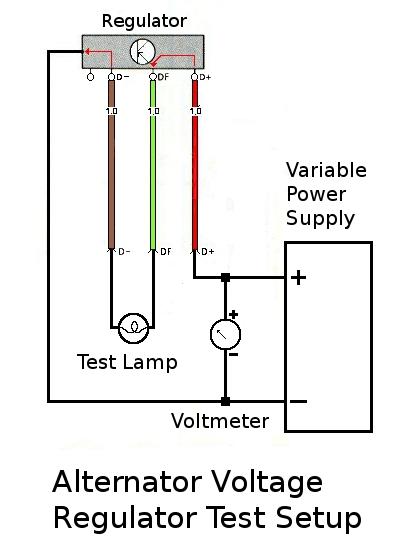
Before you begin, you'll need a few tools. You'll need a voltmeter, a multimeter, and a set of jumper cables. You'll also need a basic understanding of how your car's electrical system works.
Step 1: Turn Off Your Car's Engine
The first step is to turn off your car's engine. This is important because you'll be working with electrical components that could be dangerous if the engine is running.
Step 2: Locate Your Alternator

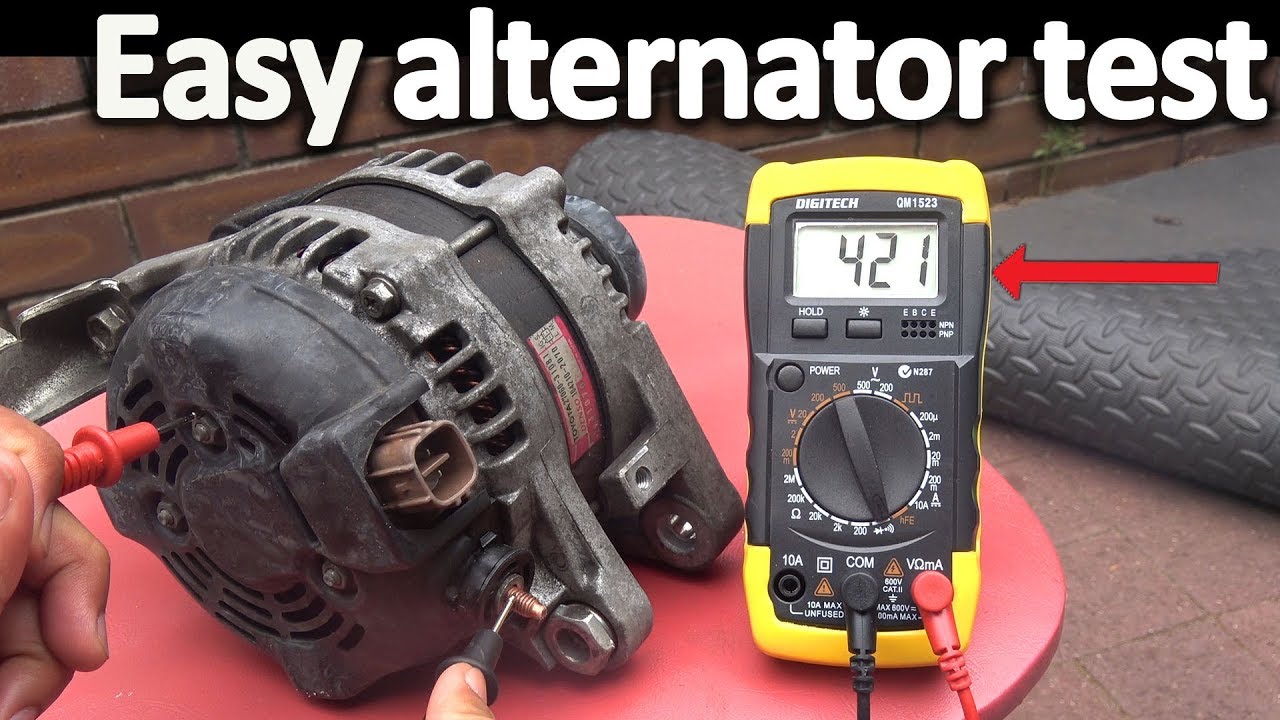
The next step is to locate your alternator. It's usually located near the front of the engine and is connected to the battery by a set of wires.
Step 3: Connect Your Voltmeter

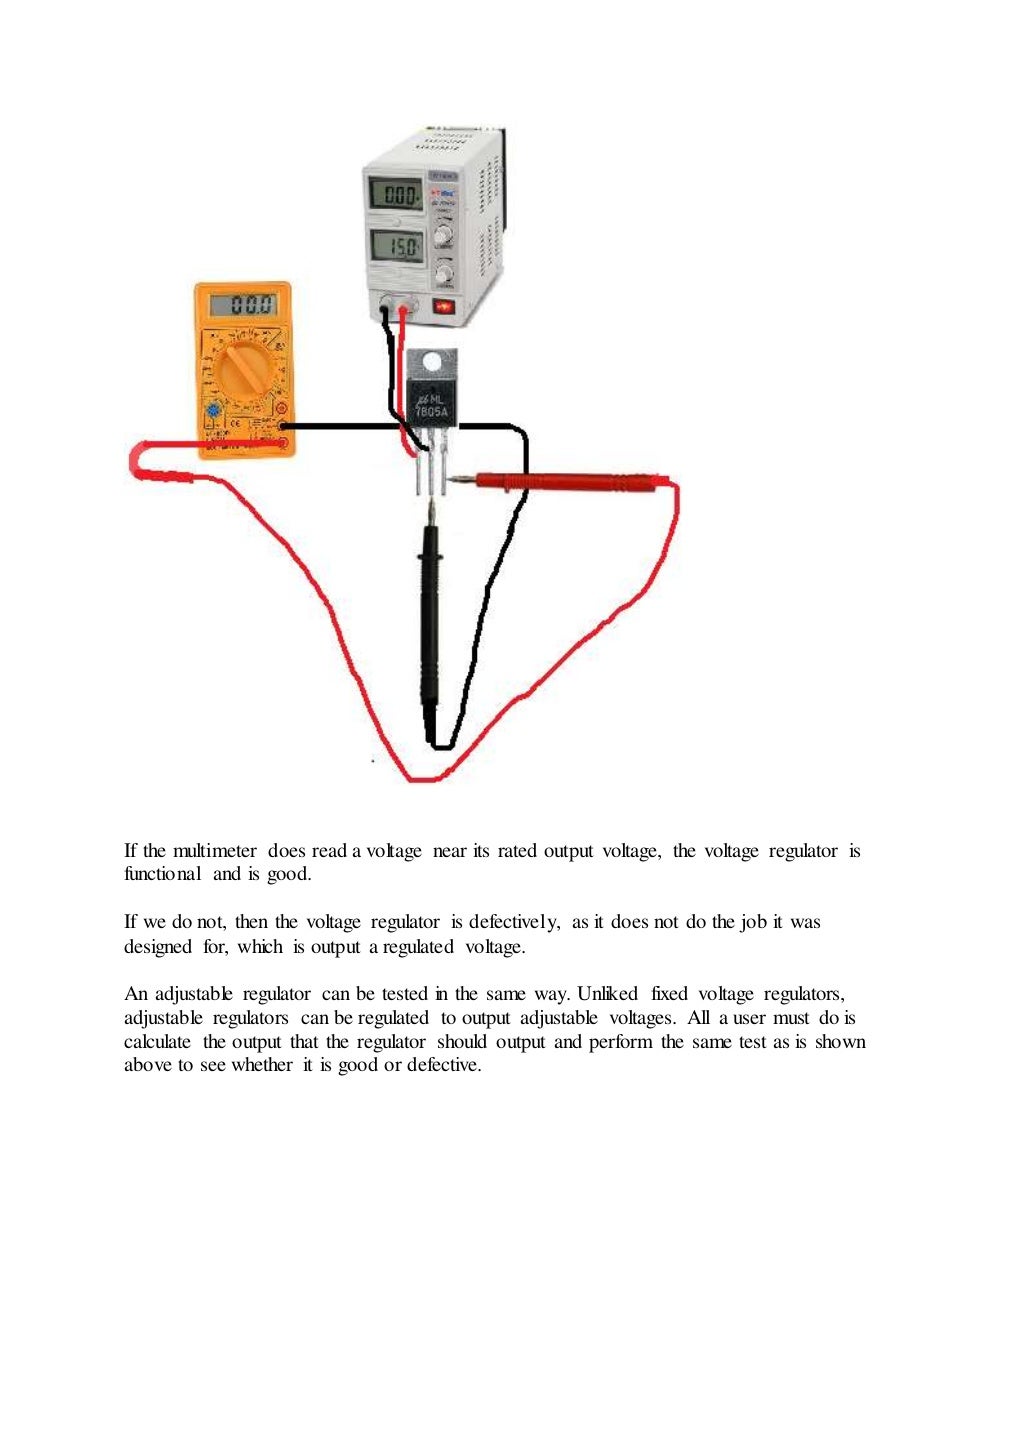
Connect your voltmeter to the battery terminals. The positive lead should be connected to the positive terminal, and the negative lead should be connected to the negative terminal.
Step 4: Start Your Car's Engine

Start your car's engine and let it run for a few minutes. This will allow the alternator to warm up and reach its normal operating temperature.
Step 5: Check the Voltage Output

Check the voltage output of the alternator by reading the voltmeter. The voltage should be between 13.8 and 14.5 volts. If the voltage is outside of this range, your alternator regulator may be faulty.
Step 6: Turn Off Your Car's Engine

Turn off your car's engine and disconnect the voltmeter from the battery terminals.
Step 7: Check the Battery Voltage

Check the battery voltage by connecting the multimeter to the battery terminals. The voltage should be around 12.6 volts. If the voltage is lower than this, your battery may be faulty.
Step 8: Connect Your Jumper Cables
Connect your jumper cables to the battery terminals. The positive cable should be connected to the positive terminal, and the negative cable should be connected to the negative terminal.
Step 9: Start Your Car's Engine

Start your car's engine and let it run for a few minutes. This will allow the alternator to charge the battery.
Step 10: Check the Battery Voltage Again

Check the battery voltage again by connecting the multimeter to the battery terminals. The voltage should be around 13.8 to 14.5 volts. If the voltage is outside of this range, your alternator regulator may be faulty.
Conclusion
Testing your alternator regulator is a simple process that can be done with a few basic tools. By following these steps, you can determine if your alternator regulator is functioning correctly and avoid costly repairs. Remember to always exercise caution when working with electrical components and turn off your car's engine before starting any electrical work.