
As an English learner, one of the most challenging things to learn is the proper pronunciation of the English language. One of the most confusing sounds for non-native speakers is the letter "H." In British English, the pronunciation of "H" is different from American English. This article will help you understand how to pronounce "H" correctly in British English.
The Silent H

The letter "H" is silent in some English words, such as "hour," "honest," and "heir." In British English, the letter "H" is silent, but it affects the way you pronounce the following vowel sound. For example, the word "hour" is pronounced as "au-er" instead of "hour" in American English.
The Aspirated H

The aspirated "H" is pronounced with a puff of air. It is pronounced at the beginning of a word or syllable, such as "happy," "hello," and "happen." In British English, the aspirated "H" is pronounced with more emphasis than in American English, so it sounds more like "huh-appy" instead of "appy."
The Non-Aspirated H

The non-aspirated "H" is pronounced without a puff of air. It is usually pronounced at the beginning of a syllable, such as "behind," "behave," and "vehicle." In British English, the non-aspirated "H" is pronounced with less emphasis than in American English, so it sounds more like "bi-hind" instead of "behind."
The H-Dropping

The H-dropping is a feature of some British accents, such as Cockney and Estuary English. It involves dropping the "H" sound at the beginning of a word or syllable, such as "ouse" instead of "house," and "air" instead of "hair." If you want to speak with a standard British accent, it is important to pronounce the "H" sound at the beginning of a word or syllable.
Practice

Practice is the key to mastering the pronunciation of the English language. You can listen to British English speakers, watch British TV shows, and practice with a language partner. You can also use online resources, such as YouTube videos, pronunciation apps, and online courses, to improve your pronunciation skills.
Conclusion
Pronouncing "H" correctly in British English can be challenging, but with practice and patience, you can master it. Remember that the sound of "H" changes depending on the word and the accent. Listen carefully to native speakers, and practice regularly to improve your pronunciation skills.
Related video of How To Pronounce H In British English

Introduction
If you’ve ever come across the word ‘doppelganger’ in a book, movie or TV show, you might be wondering how to pronounce it correctly. Doppelganger is a German word that has been adopted into English and it means ‘double-goer’ or ‘double-walker’. In this article, we’ll teach you how to pronounce doppelganger in a relaxed English language.
The Origin of Doppelganger

Doppelganger is a German word that has been in use since the 18th century. The word is a combination of two German words, ‘doppel’ which means ‘double’ and ‘ganger’ which means ‘walker’ or ‘goer’. The word was first used in English in the mid-19th century and has since become a popular term in literature and pop culture.
The Correct Pronunciation of Doppelganger

The correct pronunciation of doppelganger is ‘DO-pul-gang-er’. The first syllable ‘DO’ is pronounced like the word ‘doe’ (a female deer). The second syllable ‘pul’ is pronounced like the word ‘pull’. The third syllable ‘gang’ is pronounced like the word ‘gang’ (a group of people). The last syllable ‘er’ is pronounced like the word ‘er’ (as in ‘her’ or ‘sir’).
Common Mispronunciations of Doppelganger

It’s easy to mispronounce doppelganger, especially if you’re not familiar with the German language. Here are some common mispronunciations of doppelganger:
- DO-pl-gang-er (missing the ‘u’ sound in ‘pul’)
- DOP-ple-gang-er (pronouncing the first syllable as ‘DOP’ instead of ‘DO’)
- DO-pel-gang-er (pronouncing the second syllable as ‘pel’ instead of ‘pul’)
How To Use Doppelganger in a Sentence

Doppelganger can be used in a sentence to refer to a person who looks exactly like someone else. Here are some examples:
- She saw her doppelganger across the room and couldn’t believe how much they looked alike.
- He thought he saw his doppelganger in the mirror, but it was just a trick of the light.
- The actor was cast in the role because of his uncanny resemblance to his doppelganger, the real-life person he was portraying.
Doppelganger in Pop Culture

Doppelganger has been a popular theme in literature, movies and TV shows. Here are some examples:
- In the Harry Potter series, Ron Weasley encounters his doppelganger in the form of a giant spider.
- In the TV show ‘The Vampire Diaries’, the character Elena Gilbert has a doppelganger named Katherine Pierce.
- In the movie ‘The Prestige’, the characters played by Hugh Jackman and Christian Bale each have a doppelganger that they use in their magic acts.
Conclusion
Now that you know how to pronounce doppelganger correctly, you can impress your friends with your knowledge of German words in English. Remember to use it correctly in a sentence and be aware of common mispronunciations. Doppelganger is a fascinating word that has captured the imagination of people for centuries, and it’s easy to see why.
Related video of How To Pronounce Doppelganger

Have you ever stumbled upon a word that you just can't seem to pronounce correctly? Buried is one of those tricky words that can leave you feeling confused. But fear not, as we have the ultimate guide to help you pronounce buried with ease!
Understanding The Word Buried

Before we dive into the pronunciation of buried, it's important to understand what the word means. Buried refers to the act of putting something in the ground and covering it with soil. It's often associated with funerals and the burial of a loved one.
The Correct Pronunciation Of Buried

The correct pronunciation of buried is "ber-eed". The first syllable sounds like "bear" while the second syllable sounds like "reed". It's important to note that the emphasis is on the first syllable, so make sure to give it a little extra stress.
Common Mispronunciations Of Buried

Despite its seemingly simple pronunciation, many people tend to mispronounce buried. Common mispronunciations include "bu-ried", "ber-ied" and "bu-reed". Make sure to avoid these common mispronunciations by following the correct pronunciation guide.
Practice Makes Perfect

Like with anything, practice makes perfect. The more you say the word buried out loud, the more natural it will feel. Try saying it in different sentences and contexts to really solidify the correct pronunciation in your mind.
Other Words That Sound Like Buried

There are a few other words that sound similar to buried, such as berry and bury. Make sure to differentiate between these words and their meanings to avoid any confusion.
Improving Your Pronunciation Skills

If you struggle with pronunciation in general, there are a few things you can do to improve your skills. One of the best ways is to listen to native speakers and mimic their pronunciation. You can also practice with tongue twisters and read out loud to really hone your skills.
Conclusion
In conclusion, the correct pronunciation of buried is "ber-eed". Make sure to avoid common mispronunciations and practice saying the word out loud to improve your skills. Remember, practice makes perfect!
Related video of How To Pronounce Buried

Introduction
Silk is a luxurious and highly sought-after fabric that has been produced for thousands of years. It is made from the cocoons of silkworms, which are small, white, caterpillar-like insects that spin silk around themselves to protect their pupae as they transform into moths. Producing silk from silkworms requires a delicate and precise process, but with the right knowledge and equipment, it can be done at home.
Getting Started

The first step in producing silk from silkworms is to acquire some silkworms and their cocoons. You can purchase these online or from a local supplier. Once you have your silkworms, you will need to provide them with a suitable environment to grow and spin their cocoons. This should include a clean, dry space, fresh mulberry leaves or artificial food, and a temperature of around 77°F.
Feeding and Caring for the Silkworms

After hatching, the silkworms will need to be fed regularly with fresh mulberry leaves or artificial food. They will also need to be kept clean and free from disease. You should check on them daily and remove any dead or diseased worms to prevent the spread of infection. As they grow, they will need more space and food, so be sure to provide for their needs accordingly.
Harvesting the Cocoons

After about a month, the silkworms will spin their cocoons and transform into pupae. This is the time to harvest the cocoons for silk production. To do this, gently remove the cocoons from the silkworms and place them in a warm, dry place for several days to allow the pupae to die and the silk to dry out.
Reeling the Silk

Once the cocoons are dry, they can be reeled to produce silk thread. To do this, place the cocoons in hot water to soften the silk fibers. Use a small brush to find the end of the thread and gently unwind it from the cocoon onto a reel. This process can be repeated several times to produce a stronger, finer silk thread.
Spinning and Weaving the Silk

Once you have your silk thread, it can be spun into yarn and woven into fabric. This requires specialized equipment and skills, but it is possible to do at home with some practice. Alternatively, you can have your silk thread spun and woven by a professional textile mill.
Conclusion
Producing silk from silkworms is a fascinating and rewarding process that can be done at home with some basic equipment and knowledge. With the right care and attention, you can produce your own silk fabric and enjoy the luxury of this beautiful material.
Related video of How To Produce Silk From Silkworm
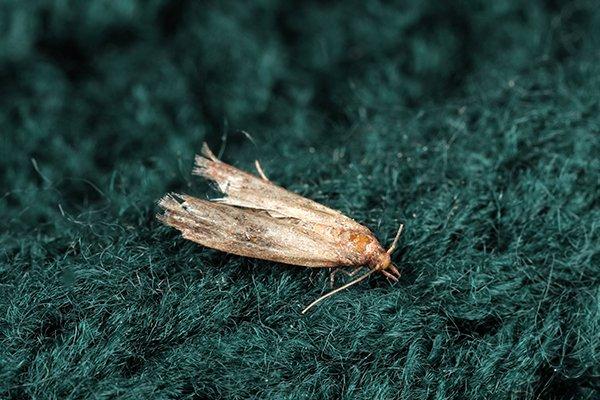
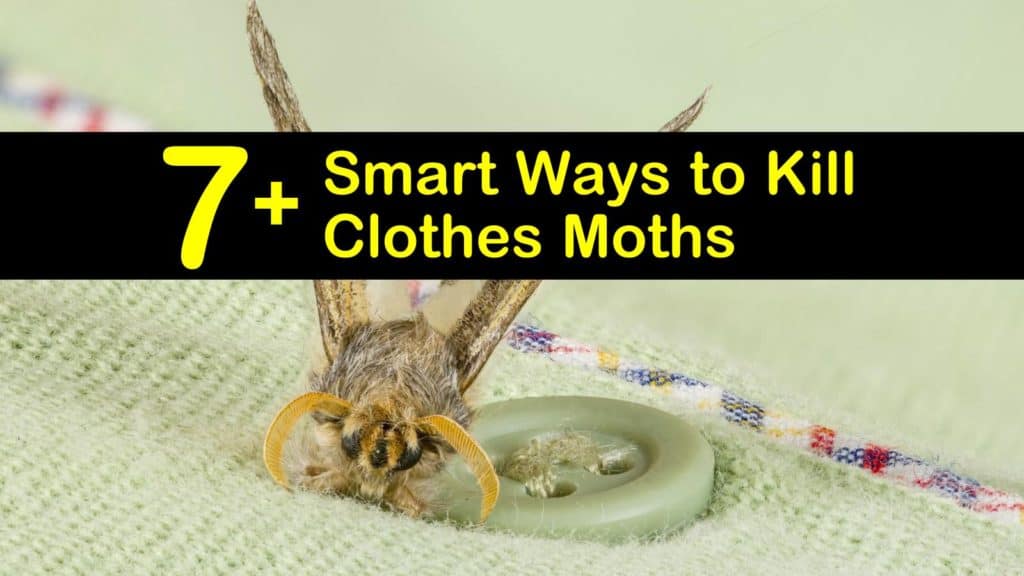
Moths are tiny insects that have a significant impact on our homes, especially on our clothes. They are attracted to natural fibers such as wool, cashmere, silk, and cotton. Once they get in, they can be hard to get rid of. In this article, we will discuss how to prevent moths from eating clothes.
Identify the Problem

The first step to preventing moths from eating clothes is to identify the problem. You can do this by looking for signs of infestation, such as small holes in your clothes, shed skins, or webbing in your closet. You may also notice adult moths flying around your home.
Keep Your Closet Clean

Moths thrive in dirty and humid environments. Therefore, you should always keep your closet clean and dry. Vacuum your closet regularly, and wipe down any shelves or surfaces with a damp cloth. Make sure to remove any old clothes or items that you don't wear anymore.
Store Clothes Properly

The way you store your clothes can also affect their susceptibility to moth damage. Always store clean clothes in airtight containers, such as plastic bags or vacuum-sealed bags. Alternatively, you can use mothballs or cedar blocks to repel moths.
Wash Clothes Regularly
Moths are attracted to clothes that have natural oils and sweat on them. Therefore, it is essential to wash your clothes regularly, especially if you have worn them. Make sure to wash clothes in hot water and dry them on high heat to kill any moth eggs or larvae that may be present.
Use Natural Repellents

There are several natural repellents that you can use to keep moths away from your clothes. These include lavender, rosemary, peppermint, and cedar. You can use sachets or essential oils to add these scents to your closet or drawers.
Avoid Storing Clothes in Attics or Basements

Attics and basements are common areas where moths thrive. Therefore, it is best to avoid storing your clothes in these areas. If you must store clothes in these places, make sure to use airtight containers or moth repellents to protect them.
Don't Keep Clothes in Storage for Too Long

The longer you keep clothes in storage, the more susceptible they are to moth damage. Therefore, it is best to rotate your clothes regularly and avoid storing them for long periods. If you must store clothes for an extended period, make sure to use moth repellents or airtight containers.
Inspect Secondhand Clothes Before Bringing Them Home
Secondhand clothes are a common source of moth infestation. Therefore, it is best to inspect them carefully before bringing them home. Look for signs of moth damage, such as holes or webbing. You can also freeze secondhand clothes for a few days to kill any moth eggs or larvae.
Use Moth Traps

Moth traps are an effective way to monitor and control moth infestations. They work by attracting and trapping adult male moths, which prevents them from mating with females. You can buy moth traps at most hardware or pest control stores.
Conclusion
Moths can cause significant damage to our clothes if left unchecked. However, by following the tips above, you can prevent moth infestations and protect your clothes. Remember to keep your closet clean and dry, store clothes properly, wash clothes regularly, use natural repellents, and inspect secondhand clothes before bringing them home. If you do encounter a moth infestation, use moth traps or seek professional pest control help.
Related video of How To Prevent Moths From Eating Clothes

Jumping beans are a fun and unique toy that can provide hours of entertainment. These little beans have a special characteristic that makes them move around on their own, much to the delight of children and adults alike. If you want to learn how to play with jumping beans, read on!
What are Jumping Beans?

Jumping beans are small, seed pods that contain the larvae of a moth. The moths lay their eggs on the flowers of certain shrubs in Mexico, and when the pods develop, they contain the larvae. As the larvae grow and move around inside the pod, they cause the pod to move and jump.
How to Get Jumping Beans

Jumping beans can be purchased online or in specialty toy stores. They are typically sold in small plastic containers with several beans inside.
Playing with Jumping Beans

Playing with jumping beans is easy and fun. Simply place the beans on a flat surface and watch them move around. You can also hold the beans in your hand and feel them jump. Some people like to race their jumping beans or see who can get their bean to jump the highest.
Caring for Jumping Beans

Jumping beans are living creatures, so it is important to take care of them properly. Keep them in a cool, dry place and avoid exposing them to direct sunlight or high temperatures. If the beans become too dry, they may stop jumping. You can also mist them with water to keep them hydrated.
Frequently Asked Questions

Q: How long do jumping beans last?
A: Jumping beans can last for several months if they are kept in proper conditions.
Q: Can jumping beans be reused?
A: Yes, jumping beans can be reused. After the larvae inside the bean hatch and emerge as moths, the empty pods can be reused to hold new larvae.
Q: Are jumping beans dangerous?
A: No, jumping beans are not dangerous. They are completely harmless and safe to handle.
Conclusion
Playing with jumping beans is a fun and unique experience that can provide hours of entertainment. Whether you race them, see who can get their bean to jump the highest, or just watch them move around, jumping beans are sure to delight both children and adults alike. Just remember to take care of them properly and enjoy the show!
Related video of How To Play With Jumping Beans

Introduction
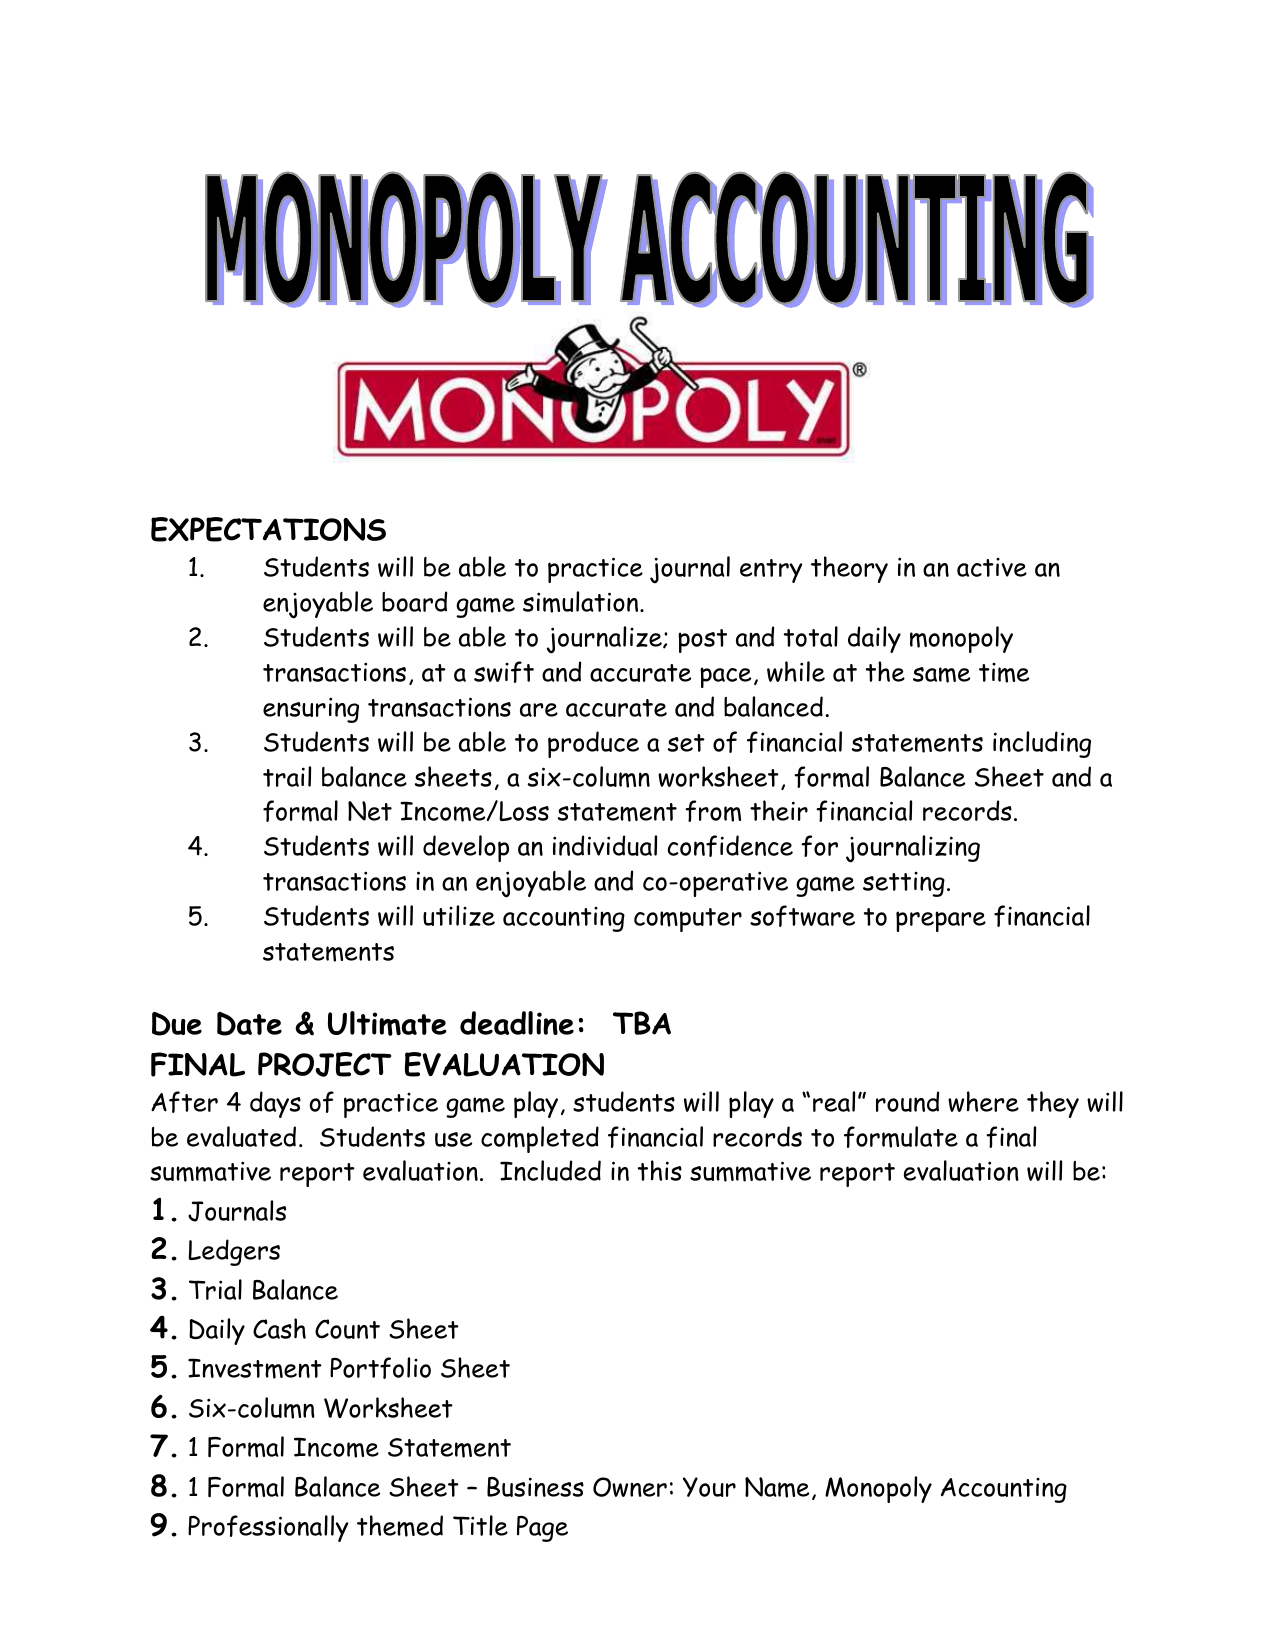
Monopoly is a classic board game that has been enjoyed by families for generations. It is a game of strategy, luck, and financial management. The objective of the game is to become the wealthiest player through buying, renting, and selling properties. In this article, we will guide you through the steps of playing Monopoly.
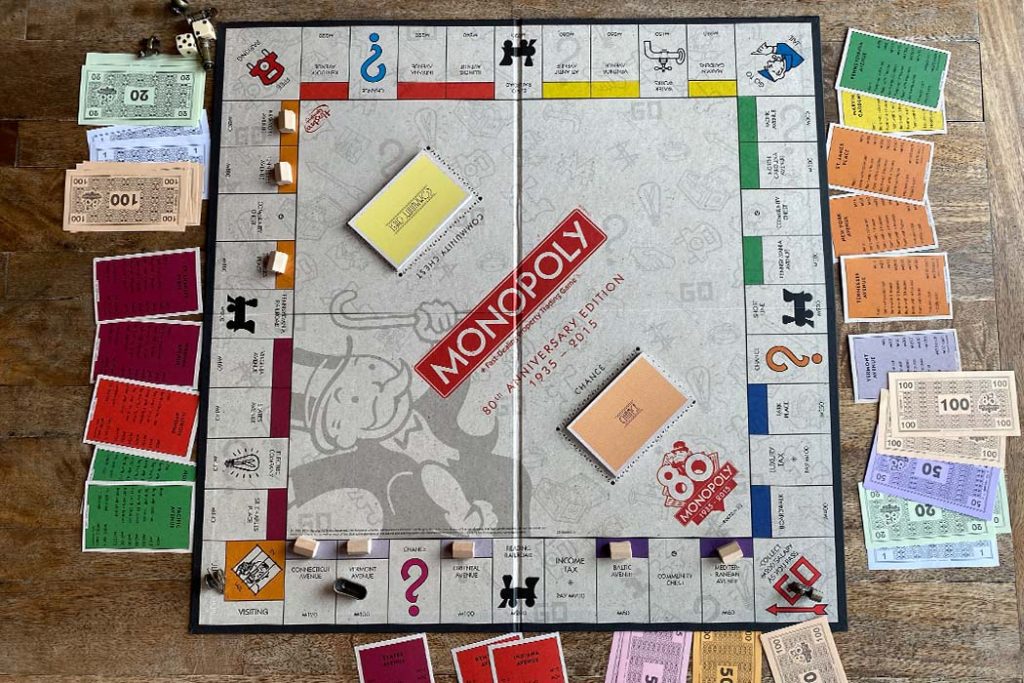
Setting Up the Game
The first step in playing Monopoly is to set up the game. Open the box and lay out the board on a flat surface. Each player chooses a token to represent them on the board. The tokens can be a car, dog, shoe, hat, etc. Each player starts with $1500 in Monopoly money.
Starting the Game
To begin the game, each player rolls two dice. The player with the highest roll goes first. The player moves their token the number of spaces indicated on the dice. The player then follows the instructions on the space they landed on.
Buying Properties

If the player lands on an unowned property, they can buy it by paying the listed price. If the player chooses not to buy the property, it goes up for auction to the highest bidder.
Building Houses and Hotels

Once a player owns all the properties in a color group, they can start building houses and hotels. The cost of building houses and hotels varies depending on the property. Players can only build one house at a time, and must have all the properties in a group before building hotels.
Paying Rent

If a player lands on a property owned by another player, they must pay rent. The rent amount is determined by the number of houses and hotels on the property. If a player cannot pay the rent, they must mortgage their properties or sell them to raise funds.
Chance and Community Chest Cards

Throughout the game, players can draw Chance and Community Chest cards. These cards can either be beneficial or detrimental to the player. The cards may instruct the player to pay or receive money, or move to a different space on the board.
Go to Jail

If a player lands on the "Go to Jail" space, they must move their token to the Jail space. The player can only leave Jail by rolling doubles on their next turn, paying a fine, or using a "Get out of Jail Free" card.
Free Parking

The "Free Parking" space does not have any special rules. However, some players choose to place any money paid to the bank, taxes, and fines in the center of the board. When a player lands on Free Parking, they collect the money in the center.
Bankruptcy
If a player cannot pay their debts, they are declared bankrupt and are out of the game. The remaining players continue playing until there is only one player left.
Winning the Game

The game ends when all players have gone bankrupt except for one player. This player is declared the winner. The winner is the player with the most money and assets at the end of the game.
Conclusion
Monopoly is a fun and engaging game that can be enjoyed by players of all ages. By following these instructions, you can have a successful game of Monopoly with your friends and family. Remember to have fun, and may the best player win!